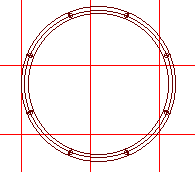
A circle of track is made up of a pieces, each being a 45 degree turn.
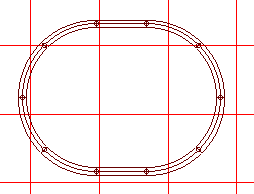
Adding straight track to both sides makes an oval. The figure will grow proportionately provided you add straights one for one on opposite sides of the diagram
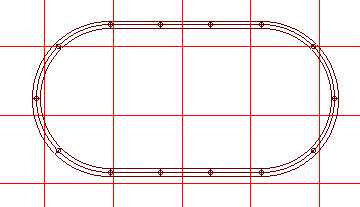
Add more straight sections to elongate the oval
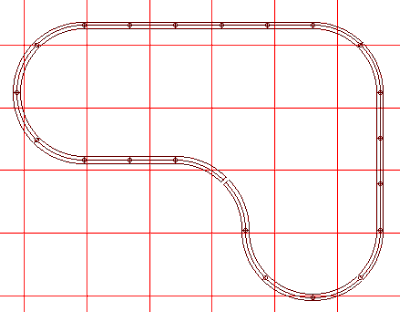
Here we made a basic L by adding curves on one end, and straights on the other
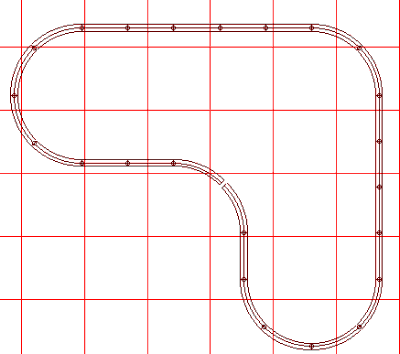
Elongate the lower loop by adding a straight on both right and left side. By adding one for one, you could extend the loop further.
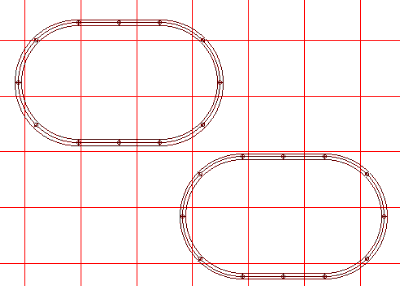
A simple way to make a crossover loop patters. We begin with two ovals of track
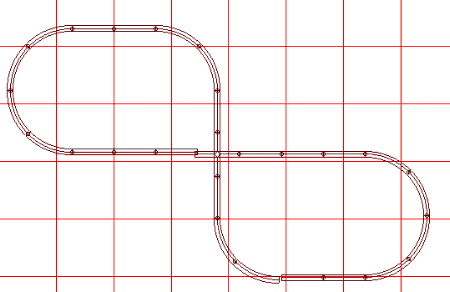
Swap out straights for curves and add a crossover.
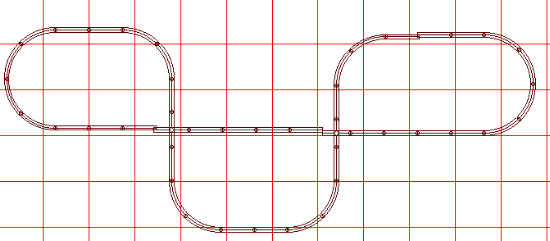
Add another oval to make another loop/ This trick is useful for making "on the fly" floor layouts and displays.
Note that a clockwise-running train, starting in the upper left oval, would go to through the middle loop and then up into the right loop on a left-to-right journey. Coming back, its entire right-to-left would traverse only the long straightaway in the middle. Trace it with your finger to see how it works.
Click here for Part II of Ovalling
Click here for Switch Dynamics for O and O27