Copyright 2002 T. Sheil & A. Sheil All Rights Reserved

In the early 1900s, a toy called "The Honeymooner Express" was very popular. It was a tin disk marked with buildings, a tunnel and bridge. Wind it up and a train rode around the edge.
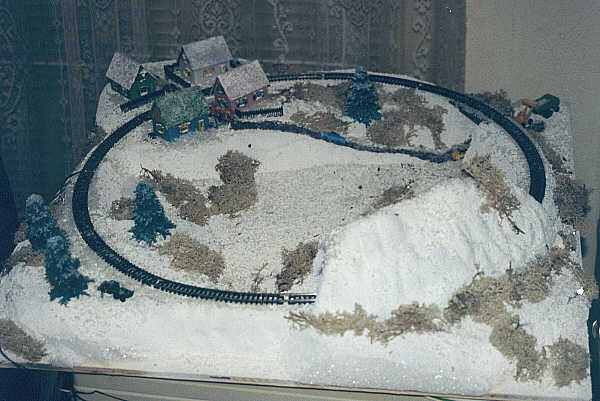
Our plan here is a bit more involved. We intend to build an N scale version of the Honeymoon Express as a yule decoration. The idea is blend a toylike feel with a realistic model. In effect, we are trying to use scale trains to resemble the toy train sets of old. This is not an easy task when one is used to working with N in scale. What works great in a scale diorama does not do so well for some holiday decorations - and this is a big decoration. For instance, brightly-color houses look awful o na scale pike, but fit this project perfectly.
It's a fun project and it can be a good warm-up before tackling serious scale modeling work. You can use a cheap N scale trai nset, or some of the extra items you have around the train room. We dug up some track, a cheap locomotive and a few extra cars to make ours.
Circle of 9 3/4" radius N Scale track.
Transformer
Terminal track or Atlas terminal joiners
Plastic houses (such as Village in a Bag)
N scale Tunnel.
Train
Winter trees
Winter lichen
N scale Iron fence (Model Power)
N scale people and cars.
Small balsa plank for bridge.
White paint
Brown paint
White glue
2" thick foam (the kind used for hobbies, not styrofoam)
2' by 2' plywood.
2 by 2 boards
1) brace plywood with 2 by 2 boards
2) Fit foam on board.
3) Place track, tunnel and houses. Draw out roads and other terrain features
4) Drill hole for wires (it is best to connect wires under the tunnel)
5) Cut foam to shape. Make sure to cut out 1.45" wide gap for bridge. Cut the route for the road so it slopes to ground level before reaching the bridge opening. Note that the areas beneath the town, tunnel, and tree-lined spot outside tunnel are widen. The rest of the trestle is narrow.
6) Spend some time shaping the foam.
7) Fix in-tunnel track and wire hookup. We glued and pinned track down.
8) Fix tunnel to board and fill seams. Tunnel was fixed with glue and pins, and seam was sealed with white putty.
9) Paint the entire surface white as a base color.
10) Before paint dries, sprinkle on some fake snow.
11) Paint the roadway brown.
12) Using putty or spackle, spread a tiny bit over windowsills and doorsills of houses to give effect of snow.
You can do this with your fingertip.
13) Place houses and fence. Fix with glue.
14) Place bridge. Fix with glue and pins. We used a small section of painted balsa wood. The bridge should be simple.
15) Place track.
16) Place people.
17) Place lichen and trees
18) Spray with white glue, then sprinkle fake snow very lightly on everything.
19) Cover roofs with fake snow by first coating with white glue, then sprinkling snow.
20). Clean track well!
21) Set up your train and let her run!
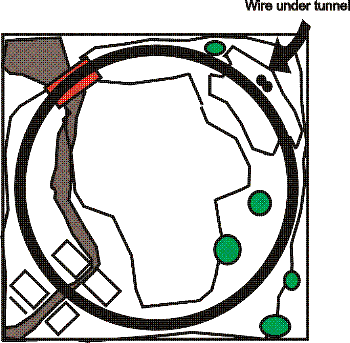
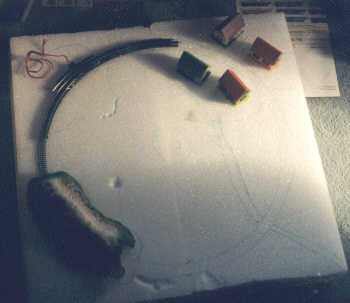
Map out your layout on the foam board. Place all items, including your circle of track. |
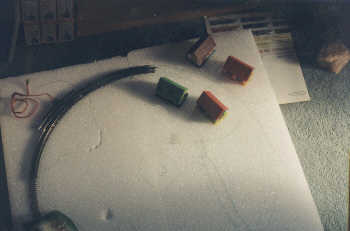 |
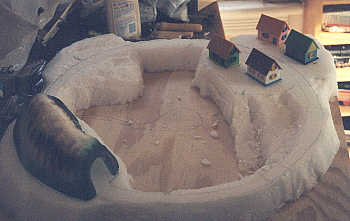
Carve out the layout. Items are show here where they will be placed. (Taken before we cut the bridge opening) |
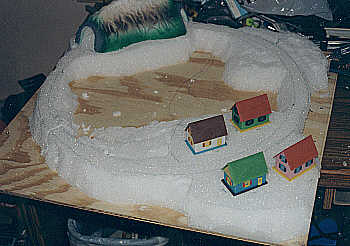 |
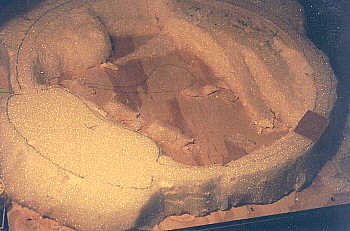 |
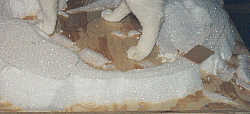
Here you can see the bridge opening and bridge. With some feline interference.... |
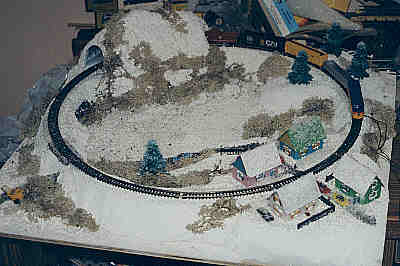
We used some extra cars, loco and caboose. |
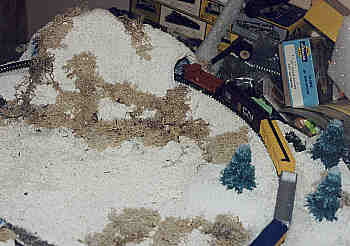
Note raised area outside tunnel. There's a little truck parked there. |
Click here to return to All Gauge Model Railroading main page